Pages

Cute as a Button Party - Origami Flower Tutorial

Tuesday, 17 December 2013

Hi everyone, as I am sure I have mentioned our little Button turned 1 in September and what better party theme than 'Cute as a Button'. It was a great hit and I had a great time making crafts for her party. 


I got lots of amazing compliments and one of the favourites was my paper bouquet.  I used these beautiful origami Kusudama flowers in a bouquet with added buttons on each flower and on the stem.
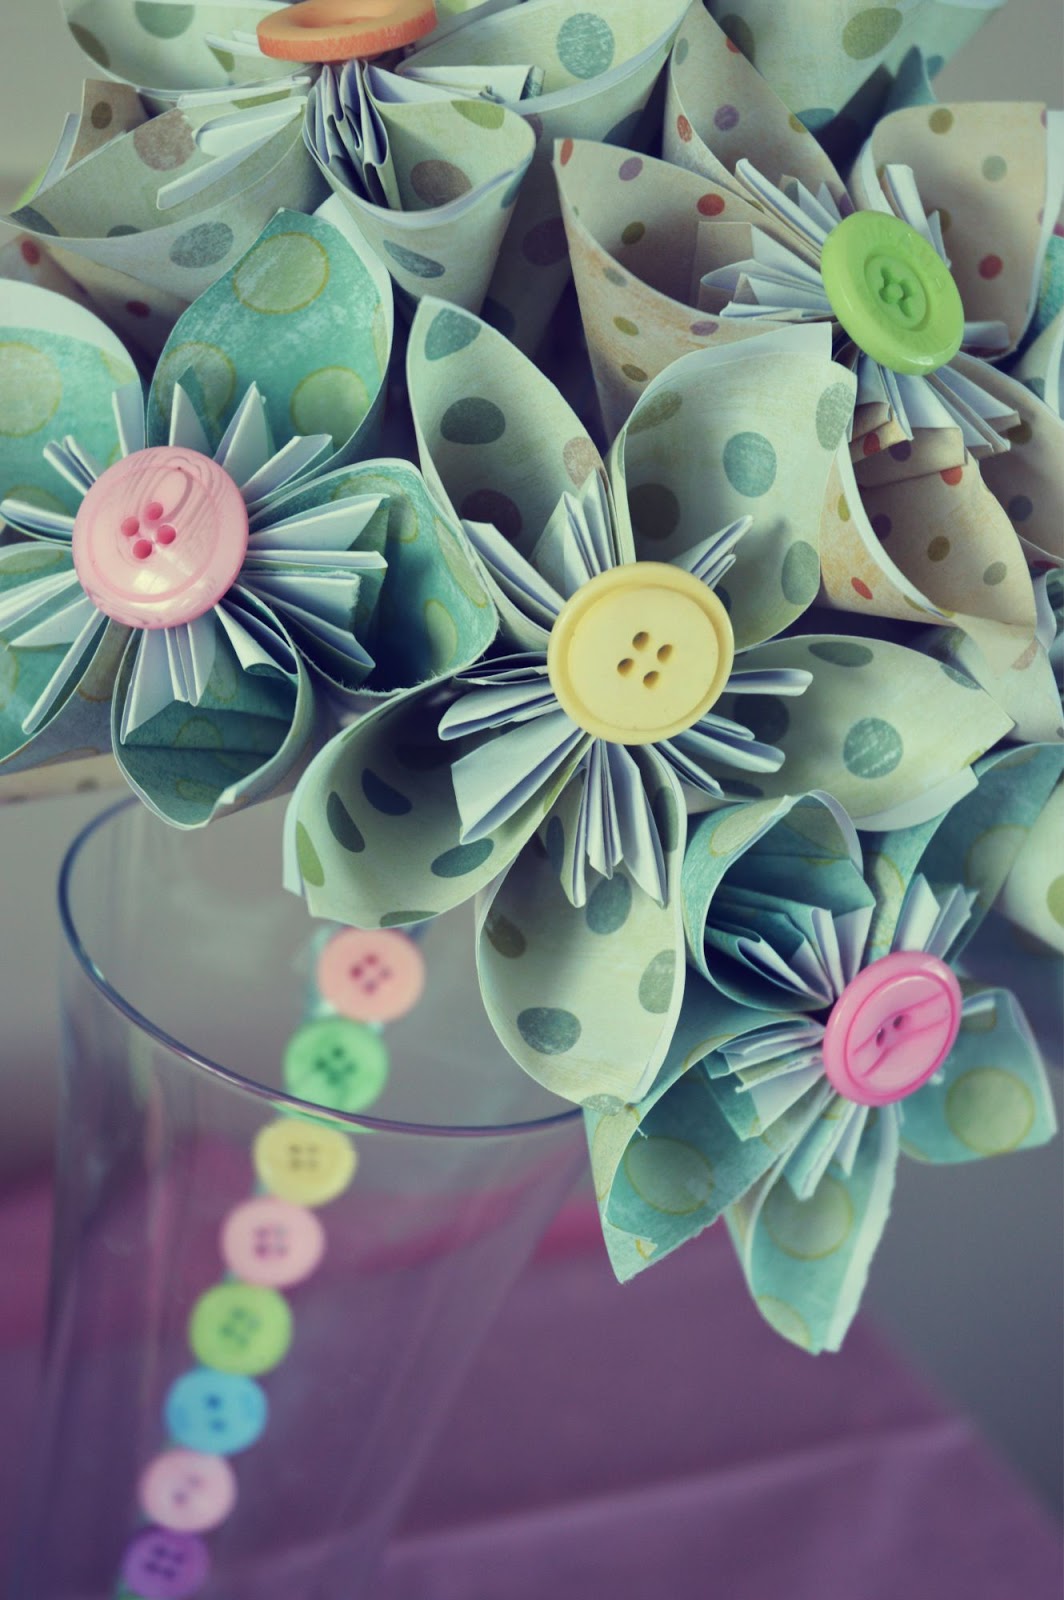

 I also used some spare flowers as decoration on her cake and around the room. You could also glue them in to a ball or make them in to a pretty brooch. There are plenty of uses for these unique flowers. 


So I thought I would post a tutorial on how to make these unique origami flowers for your very own. Along the way you may end up like I did with a few more paper cuts, glue burns and an origami mess but you'll love the finished result.  


What you need:
  •  Desired paper cut into squares. The pieces I used were 7 x 7 cm though you can use smaller or bigger squares depending on what size you want. (you can buy origami paper however I just used vintage style polka dot paper)
  • Strong glue and/or glue gun
  • Buttons
Thanks to Folding Trees for the pictures, seems every time I went to photograph my method someone (miss Button) wanted to help. Let's get started. 


Fold the bottom corner to the top, to make a triangle.


Fold the left and right corners into the centre to make a square.


Next fold the same points down. The folded edge should line up exactly to the outside edge of your square.


Open up the flaps you have just created and flatten them.


Fold down both tips so they are level with the paper.


Fold the paper back along the crease you made earlier. Get your glue out now, fold them together and hold in place for a few seconds. 

Repeat the method above and glue together 5 petals to make one flower. With the bouquet I looped the wire through the button and glued to each flower. I made a total of 12 flowers for Buttons bouquet, I then wrapped ribbon around the stem once finished and glued buttons down the front for extra decoration.  
You could also make them into a Kusudama ball. Just add ribbon to hold, pearls instead of buttons and it would be a perfect accessory for a beautiful flower girl.


I hope this tutorial was helpful and hope you post pictures of any flowers you make, I'd love to see your creations. 

HAPPY CRAFTING!
post signature

Cotton Wool Santa!

Monday, 16 December 2013

Loving the crafty fun we are having at the moment! Such a lot of fun and there is cotton wool balls everywhere. Here is one of our Christmas themed crafts that was not only fun to do but gives the wall a little holiday cheer. 

I glued two sheets of white paper together, added a red paper hat and drew in a Santa face, a big beard shape and wee body at the bottom. Feel free to copy my Santa or use one of your own.  


Sorry about the photos, I'd only taken one pic after I drew Santa and Buddy was already in with the glue.
Then Buddy glued and stuck on his cotton wool beard and fluffy trim on his hat. While it 'dried' I coloured in the details. 


So here he is our mini Santa watching over the tree for the real big guy to come. 


Merry Crafting!!

post signature

Cardboard Box TARDIS playhouse

Sunday, 8 December 2013

It's finally time! When we moved in a month ago we got a new laundry tub put in and of course it came in a nice big cardboard box. Our bread and butter when it comes to crafts with the kids! Yes it has been getting in the way ever since it arrived but a cardboard box as you know is too much fun for Buddy and Button not to keep. After sanding, taping, painting and organising the house, we are almost finished (to what money will allow) and now it is time to start out newest Doctor Who project. We are in desperate need of a TARDIS for our mini Doctor, Buddy and his companion Button, so let's get started!

What we need, A great big box, some extra cardboard, lots of paint and some Wibbley-Wobbley Timey- Wimey stuff!


Button woke from her nap and found the polystyrene ball and the tape and things got a bit crazy.


In our house there are a few empty nappy boxes which were perfect for the top of the TARDIS and I added a strip for the police box sign. I didn;t think Buddy and Button would mind if I only did the main details on one side. 


After taping it all down I did an undercoat in white to hide the printing on the box. 


I'm glad I did an undercoat as the blue poster paint just glided on with hardly any effort, which is always handy.


Now for the fun part. I realised how much I missed painting when I got stuck in to the details. It took me a few hours to finish but even if the kiddies break it first go I enjoyed every minute of making it.


So here it is, our TARDIS! I am so happy with how it turned out and can't wait for Buddy to find it when he wakes up in the morning. I'm sure I'll have some pics of our little Doctor and his companion, somewhere in time and space in their new playhouse, if mum ever gets out.

Buddy went straight for his screwdriver and was so excited 'There's a TARDIS in the living room mum'! 


He also got very protective of it, even his companion wasn't allowed in. Ha, poor Button, I'm sure she'll find a way. 


post signature

Samantha Lee - Bento Food Design

Thursday, 5 December 2013

As Stay at home mums Samantha Lee has put me to shame, she makes creative dishes for her kids and they are just amazing. True pieces of art, and we are big fans. 

Here are a few of our favourites and checkout her site for more and more and a lot more yummy imagination!


Not everyone has the time and patience to do this every day for their kids but I wish I did. They may be more inclined to eat it. What an amazing inspiration to change up the usual and go for the unusual!
Merry Crafting!
post signature

Christmas Photos

Tuesday, 3 December 2013

Every year Buddy & Buttons Granny in Scotland sends out a Christmas letter. I love it as hardly any one sends mail these days and getting a hand written letter posted just for you is a lot more exciting and personal, I think, than a Facebook post. I should do it more but alas I am attached to the computer too often and social media just seems easier and quicker from the other side of the world. 

I don't have a big part in the writing of the letter, their Granny knows what we are up to, however it is up to me to get photos of Buddy & Button. A task I sometimes love but the bigger Button gets the harder it seems to be. 


You can see from my first attempt that this may not go so well. Ha, Hopefully I can find a few from the bunch. 

Merry Crafting!

post signature

Christmas Crafts!! - Santa Beards

Monday, 2 December 2013

It is finally December and that means it is almost Christmas, and now the start of our Christmas craft fun! We are lucky to have one of Buddy's friends here twice a week so we are saving the Christmas crafty fun to do together!
 

Living in New Zealand it is a sunny and warm Christmas for us, but I will always miss my snowy and wintry Christmases back in Scotland. So we will just have to add a little winter to our NZ summer! 

First on the list, Santa beards. It was so easy to make and the kids had great fun with all the cotton wool or 'little clouds' to them. So cute.
 

A little prep first, I cut out a beard shape for them and then it was their turn. Taping a stick to the back for them to hold.


Turns out someone (buddy) used up all of the glue, all four sticks of it so I had to use my strong craft glue. I added it to their paper and they went 'little cloud' mad! 


Here he is, our wee Santa Buddy and his beard! 


 Merry Crafting! 
post signature

Buddy & Button make the stars shine for you

Sunday, 1 December 2013

I have been working on a little project for my Buddy & Button. I wanted to make something that they could keep for a long time, and thought what better than book. And this is how my idea started, all from a humble chalk picture I drew in the back yard.


One sunny afternoon, Button fast asleep, Buddy and I were drawing out back and he asked for a picture of him and his sister as fairies, so I did. Buddy used to be Sweetpea to me, but I get told off for calling him that now, "No mum, I'm Buddy".  

Well, thanks to my original drawing I wrote a poem to fit with the fairy Buddy &  Button and added the drawing as I went. 


Using different media my Buddy & Button started to come to life and I couldn't be happier.


I finally decided on paper and I am in the process of doing each drawing now. Here is my progress on Buddy & Button, where two wee fairies start to fly. 


The colours are not coming up as bright in the photograph, sorry I should be better at that but it was just a quick pic to show how it is going. 


I'll be posting more updates on how my book is going. I've been working really hard on something just for them and I can not wait to see their faces when I have finished. 

Skye