Hi everyone, as I am sure I have mentioned our little Button turned 1 in September and what better party theme than 'Cute as a Button'. It was a great hit and I had a great time making crafts for her party.

I got lots of amazing compliments and one of the favourites was my paper bouquet. I used these beautiful origami Kusudama flowers in a bouquet with added buttons on each flower and on the stem.
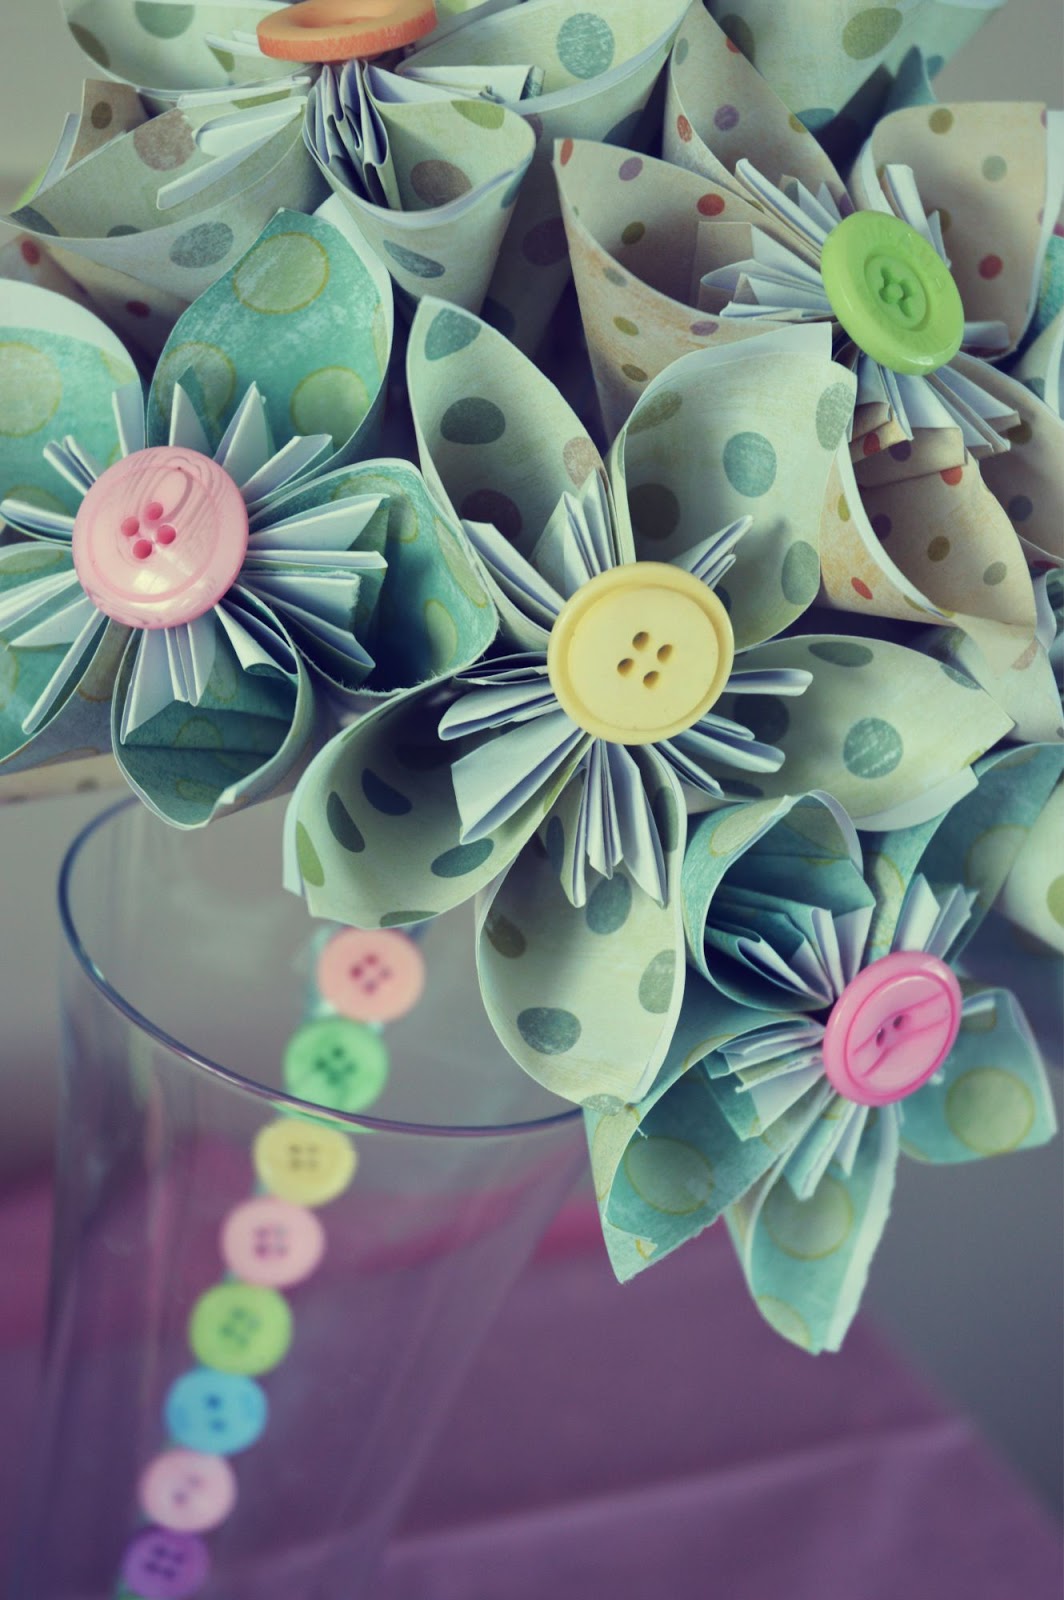
I also used some spare flowers as decoration on her cake and around the room. You could also glue them in to a ball or make them in to a pretty brooch. There are plenty of uses for these unique flowers.

So I thought I would post a tutorial on how to make these unique origami flowers for your very own. Along the way you may end up like I did with a few more paper cuts, glue burns and an origami mess but you'll love the finished result.

What you need:
- Desired paper cut into squares. The pieces I used were 7 x 7 cm though you can use smaller or bigger squares depending on what size you want. (you can buy origami paper however I just used vintage style polka dot paper)
- Strong glue and/or glue gun
- Buttons
Thanks to Folding Trees for the pictures, seems every time I went to photograph my method someone (miss Button) wanted to help. Let's get started.

Fold the bottom corner to the top, to make a triangle.

Fold the left and right corners into the centre to make a square.

Next fold the same points down. The folded edge should line up exactly to the outside edge of your square.

Open up the flaps you have just created and flatten them.


Fold down both tips so they are level with the paper.


Fold the paper back along the crease you made earlier. Get your glue out now, fold them together and hold in place for a few seconds.
Repeat the method above and glue together 5 petals to make one flower. With the bouquet I looped the wire through the button and glued to each flower. I made a total of 12 flowers for Buttons bouquet, I then wrapped ribbon around the stem once finished and glued buttons down the front for extra decoration.
You could also make them into a Kusudama ball. Just add ribbon to hold, pearls instead of buttons and it would be a perfect accessory for a beautiful flower girl.


I hope this tutorial was helpful and hope you post pictures of any flowers you make, I'd love to see your creations.
HAPPY CRAFTING!


No comments:
Post a Comment